Showing posts with label Needlefelting. Show all posts

Sunday, April 6, 2014

And the Winner of the Sun Maiden Wool Painting is.......


Megan who said:
 
I love that Waldorf schooling embraces the whole child. Beautiful spring wall hanging!
 
Congratulations Megan!  Your name was pulled from a jar and you have won!  :) 
 
Please send me your address (you may email it privately to farley98@earthlink.net) and I will pop your Sun Maiden Wool Painting in the mail this week. 
 
Thank you to everyone who entered and have a wonderful spring! 


Sunday, March 30, 2014

Giveaway: Sun Maiden Breathes Life into Spring


To celebrate spring and the milestone of over 300 followers to Ancient Hearth, I wanted to give away a beautiful Waldorf inspired wall hanging.  Handmade using wool roving and lovingly needle felted by me, this hanging is approximately 9" x 12" and can be hung on a wall using the hemp twine attached to it.  Would make a lovely addition to a bedroom, school room, or class room.

The Sun Maiden holds a bouquet of spring flowers as she travels through the meadows bringing light and life to the land.  A nest of three eggs sits above her head in the tree as wispy clouds drift by and the gentle breeze blows.

To be entered into this giveaway, please leave a comment that you'd like to be entered, along with what you love most about Waldorf schooling, lifestyle, or philosophy!  Doesn't have to be long, just interested in seeing what drew you to Waldorf or to this blog.  If you share this on your blog, please let me know - along with a link to your blog, and I'll enter you a second time!

A lucky winner will be chosen within a week and the winner will be announced next Sunday!  Good luck and blessings to all!
 

Love and light!
~ Jen

Monday, March 24, 2014

Happy Spring!


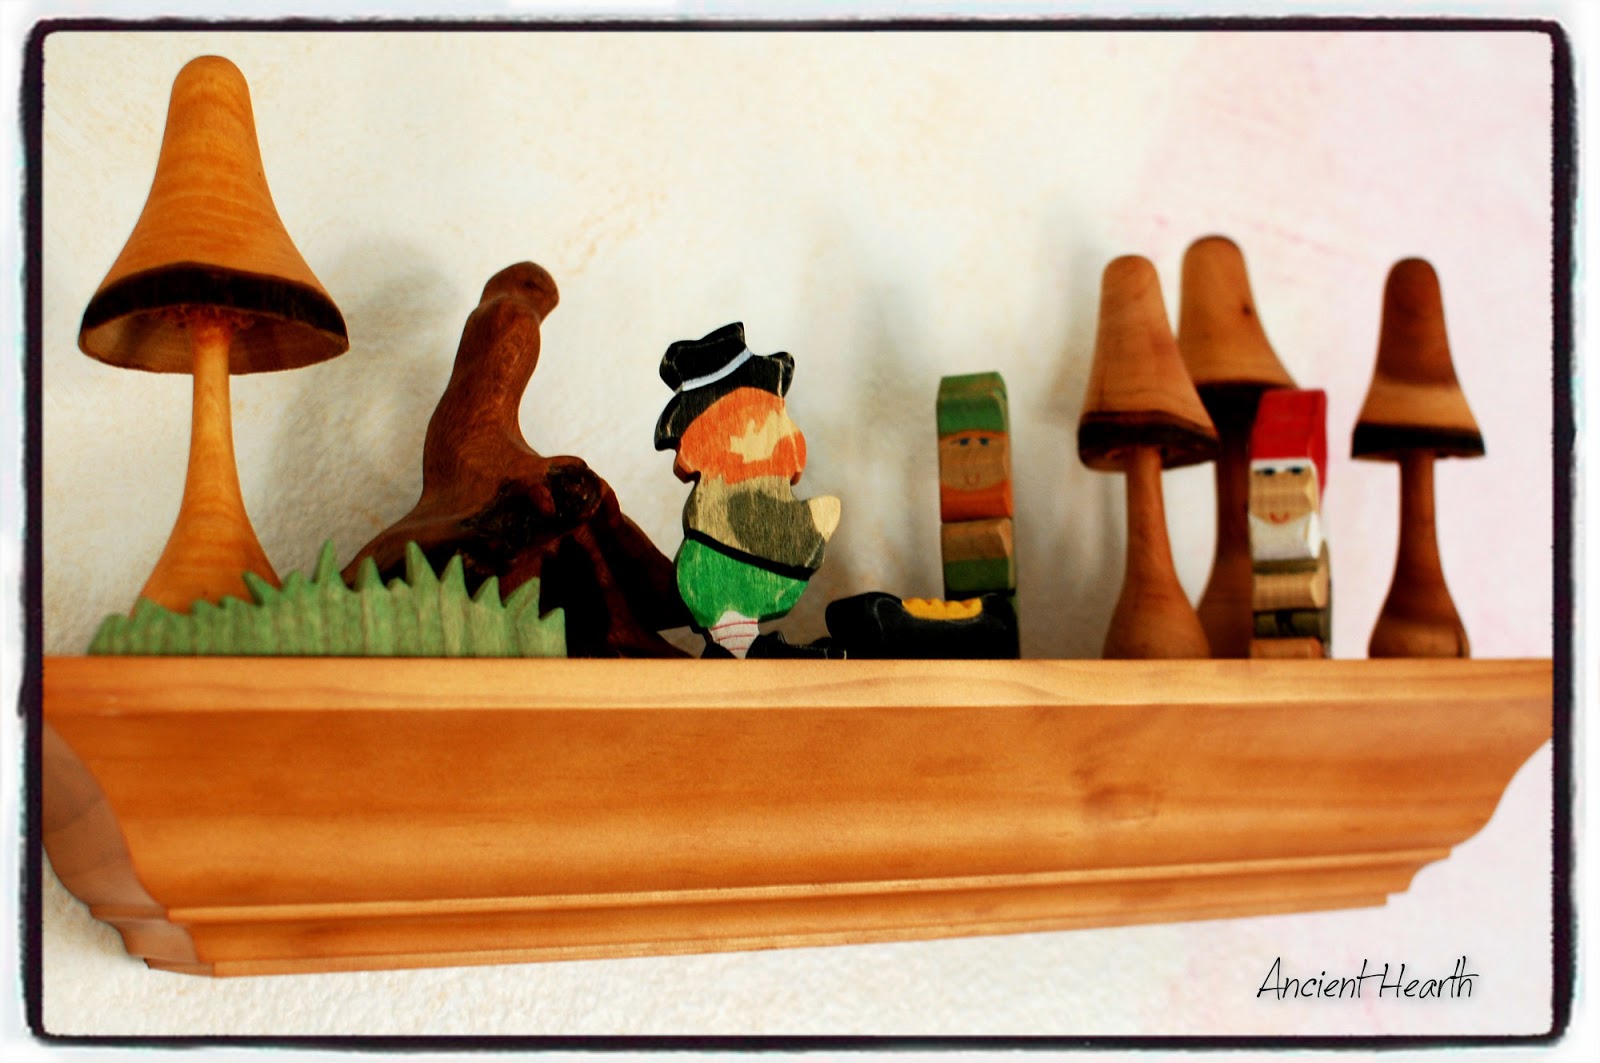
I can't believe spring is already here!  My husband recently put up a few shelves in our school room so I could display some of our beloved wooden figures and needle felted treasures.  It helps with our rhythm.


 I have so missed blogging, feeling sad that I haven't much time anymore to capture our days and share them with others, but I did go through today and saw about 50 comments left through the years that I hadn't seen and got around to publishing them today.  I wanted to thank each and every one of you who reached out and commented on a post I had done.  It really meant the world to me - like little hugs across the miles :) 
 
It is so nice to find like-minded friends and others with the passion to nurture and prioritize the health and development of our children.  Sharing helps others and reaching out to receive inspiration or to inspire others, in turn, helps so many children.  I know I have been so motivated and enlightened by so many amazing mothers, fathers, teachers, and friends out there through the years who took the time to share.
 

So today, I want to honor all of you and in the spirit of giving, I am going to be making something today to give away as a token of thanks this week!  I don't have any plans yet just *what* to make - other than something needle-felted as that is a beloved passion of mine...so stay tuned and enjoy the life that is blooming right under our noses!


Blessings and light to all my friends and readers! 
xoxo

Monday, April 2, 2012

Giveaway: And the Playscape Winner Is...


Elizabeth...


Elizabeth of Heartfelt Homemaking has 3 lovely daughters and is a dedicated homeschooler, mother, and homemaker!


Congratulations, Elizabeth! My daughter, Laney, pulled your name from the bin and I'll be emailing you to get your address so we can send you the playscape! Hope your daughters enjoy it as much as my girls love theirs :)

Thank you to all who entered! I wish I could give one away to everyone!!!!

Monday, March 26, 2012

Giveaway: A Needle-Felted Playscape!

The votes are in! The playscapes win :)

I love playscapes and they have helped me immensely with my Waldorf inspired homeschool. I can't tell you how many times we have used one of the playscapes in the context of a story for teaching or how many times I have heard little voices playing and peek in to find great adventures happening on the playscape with their little wooden toys.

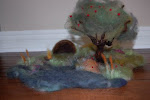
This playscape features a meadow with a raised mound (where a simple little turtle sits), a stream that deposits into a lake, a cave lined with gold and diamonds where a simple red gnome fulfills his life's work, and a magic tale-telling tree that will come with both deep green 'leaves', and 'autumn foilage so that the playscape can be changed for the seasons, as well (simply remove the 'leaves' for a winter scape). Additional treasures abound in the details (like the purple heather and some little 'apples' that can be placed on the tree during the harvest)!


To be entered to win this beautiful playscape, please leave me a comment with the ages of your child(ren) and their favorite book (or books) and I will post those in a subsequent post.

For an additional entry into the contest, become a follower of my blog (if you are already, LMK that and I'll add your name a second time).

For a third entry, please list your favorite blog (and the category it falls under - general, homeschooling, waldorf, crafting, etc) and I'll post those as a group in a subsequent post!

Good luck to everyone!

The winner will be announced next week on Monday, April 2nd!

Thursday, January 26, 2012

Ancient Hearth Etsy Shop is Reopening!!!


Bonnie, my friend, you guessed it! After a l-o-n-g hiatus, I decided that I missed my little shop so I'm busy at work, like an elf, creating some special little people to bring warmth and spirit to some wonderful homes in 2012!

And, of course, we have to celebrate by having our first giveaway of 2012. That giveaway is on the horizon, so be sure to check back next week!!!!

I've also just created a facebook page for Ancient Hearth. So feel free to join us there, too!

Friday, January 7, 2011

And the Winner Is...


Daisy of TwoLittleSeeds who said...

"Thanks for the chance, we would love to win a King Winter! My son would love his beard I know. I think he is beautiful and would be treasured on our Nature table!
Happy New Year. Daisy xxx"


Congratulations Daisy! Your King Winter will be shipped to you in Wales.

Thank you to everyone else who entered the giveaway! May you have a healthy and blessed 2011!!!!

Hugs, Jen

Monday, December 13, 2010

Honoring St. Lucia...


2nd Grade has been extra fun because we are also studying the Saints. Today, we celebrate St. Lucia's special day. My nice camera has been lost and only resurfaced this afternoon, so I don't have any pictures to share of our celebration this morning. But I have two posts to share from last year.

First, our preparations for making a basic needle felted St. Lucia crown. That can be found here.

And then our celebration is found here.

Some basic information on St. Lucia from my etsy shop listing:

The legend of Santa Lucia is that of a beautiful young woman who was brutally tortured and put to death defending her faith. Abandoning her wealth and promise of a husband, she dedicated her life to serving the poor and feeding the hungry. Later, the stories surfaced of various miracles tied to this Italian maiden, including a legend in the middle ages when a large boat, empty of passengers, arrived in Sweden full of food and drink for the starving people of the town. Some swore they had seen St. Lucia with a light surrounding her head on the bow of the ship just before it landed. Some time later, she was adopted as a very important saint by Sweden and now a lovely holiday tradition takes place yearly in her honor on December 13th.

It was said that she brought bread to the poor Christians hiding out in caves and the wilderness. She strapped torches onto her head to free up her hands to carry and distribute the bounty. Hence, the tradition of the Light Wreath came to pass.


This is an "Old World" St. Lucia - the Italian maiden that probably more closely resembles the real St. Lucia (versus the lovely Swedish version that we've all come to recognize in the waldorf circles)...

No matter what color her hair and skin are, or what kind of clothing she wears, the gifts of St. Lucy, her love for the poor and the magnitude of her faith make her shine like a beacon of light in the night!

Hope you had a fun St. Lucia day!

Thursday, December 9, 2010

Advent Spirals


Joseph was my very first needle felting attempt of a person. His hands are thick and chunky, but I love the simplicity about this pair. On our Advent table, we have Mary on her donkey, being led by Joseph as they make their way around the Advent spiral...and when they land on the final star, they will be placed in the stable where the manger awaits the babe...


This is our scene and I have a cotton cloth underneath my silk. The stars are cut from wool felt and branches from our trees form the spiral. However...we've already had one bump from one of the girls chasing a dog around the house that resulted in the silk sliding and the stars falling all over the place. It was a mess...


So next year, I am going to try this WONDERFUL tutorial from a blog I really enjoy called, "In These Hills". Please check out this Vermont mama's Advent Spiral tutorial found here.

No more stars flying all over the place - they will stay put and look lovely, to boot! :D

Saturday, October 16, 2010

Grade 2: LA Block with Fables - The Fox & the Grapes


October brings us a slight chill and a bit of rain (how welcomed!) and it also brings us back to Language Arts lessons. This month, our vehicle is Aesop's fables and here are some pictures to share...

First of all, I decided to start off with one of my favorites as a child, "The Fox & the Grapes". Attitude is everything in life and learning to be gracious, honest and humble just can't be underestimated, especially in today's world.

I started a new tradition this year (and will photograph it next week) - but I have decided to add the magic of a *storyteller's chair*, along with a *storyteller's shawl*. When the girls see me putting it on, they know a tale is about to begin :)


I hid my chalkboard drawing under a silk, and we followed the three day rhythm. I introduced the story on the first day, we retold it together the second day, and the third day, the girls each got to retell it. I pulled out my trusty playscape and a needle felted fox. We pretended the tree was really a vine and I quickly stuck a blob of purple on there to represent our grapes...


When it was the girls turn to retell the story, they took turns, and put on the storyteller's cape. They also wanted to wear a storyteller's babushka (we are part Polish, after all :)! The girls had so much fun - boy did that fox go flying all over the place trying to get those juicy grapes!


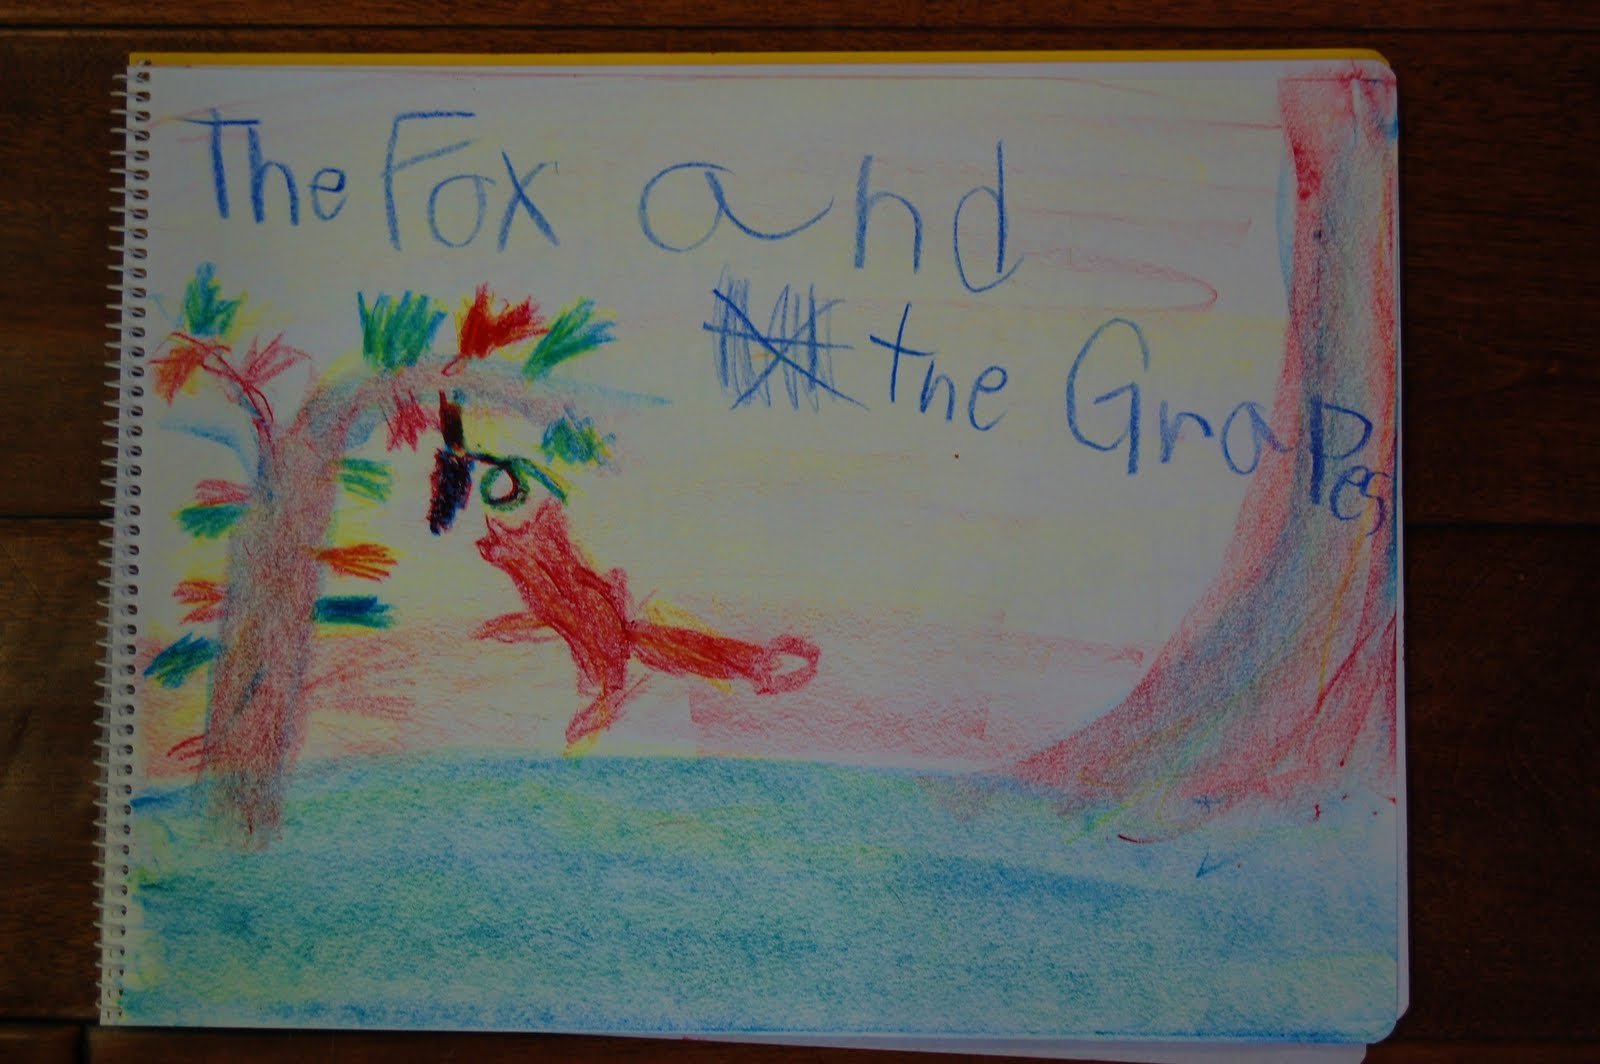
After the story was told, on Day 2, I revealed the chalkboard drawing and we began to copy it into our MLB's. This year, I find that they have more control and more patience over their fingers and drawing, so while last year, I allowed them to use various colors for their drawings, this year, we are focusing on using just the three primary colors and blending. While it may be ideal to start with just the primary's in Grade 1, as homeschoolers, I found I had to do more coaxing than I would have if the girls were under a teacher they didn't really know. They are ready for this challenge and I was very pleased with how their drawings turned out.


We also wrote a summary together to copy down onto another blank page in our MLB's.


Both of the girls need work trying to stay in a line and sometimes the letters still get away from us. Using the stick crayons to write words is harder than using a pencil, so I am taking that into account, as well. And perfectionism isn't pushed - just doing the very best you can do at this moment is what I usually stress. And I often point out errors I make (my fox's head is too small - oh look, I will try to make it a little bigger)!


And, of course, in the style of Earthschooling, who could forget to bring the grapes - for multisensory fun! They look a little mealy here, but they tasted good - lol! I stood on a chair and held the sprig up high while the girls jumped for them like the fox and giggled all the while!


We took the time to think of words that rhyme with *fox* and they saw how "ox" and "ocks" makes the same sound!


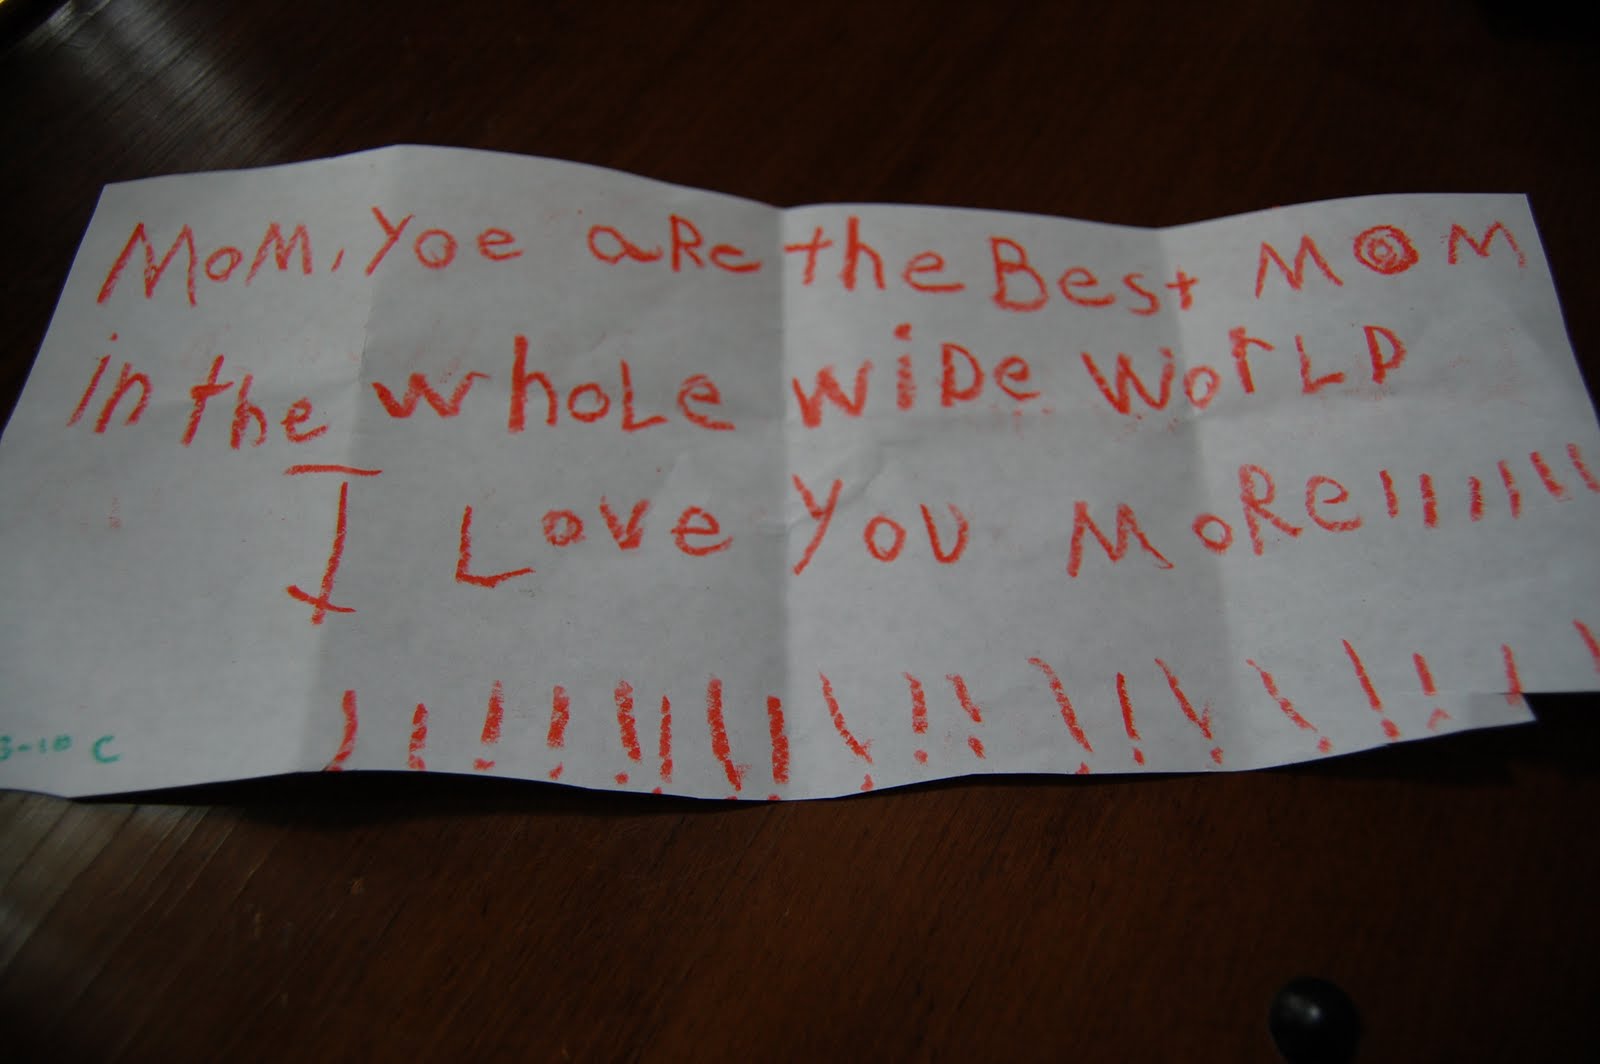
And another fun way to encourage writing, spelling, and reading, is to have the kids create their own mail boxes out of old cereal boxes or shoe boxes. They cut up paper bags and we taped them on and then they painted designs, and we even made little flags for them, so they know when they have mail!


My hubby works late, so this has been a fun way for them to connect with him during the day. They receive and leave messages for him and get all excited to see when the flag is raised!

We actually did this exercise when they were very little and they would draw things for him, but now it's so fun that they can write little notes. I even got a few lovely ones, myself - and some fun Michaelmas and Halloween drawings!


We went on a bunch of field trips over the last two weeks, so I'll share a few shots from them in my next post - some really fun local places to see!

Friday, October 15, 2010

Needle Felted Ghost Tutorial - Finally!


'Tis the night when up in the sky
You might see a ghost come gliding by,
Fear not, he is friendly you see
For once he was human, like you and like me!


So finally - here is a very easy tutorial on making some cute Halloween ghosts to hang in your home - or outside on a special Halloween tree! You will only need a few supplies:

~ white wool batting or wool roving
~ a tiny bit of black wool roving
~ a needle felting foam pad (or a thick sponge works, too!)
~ a needle felting needle

I wanted to show the difference between different batches of wool batting. This is from a newer batch and it is great for stuffing dolls. It is very thick and has tiny balls of wool in it...


Whereas this batch below is more like roving, but I also bought it as wool batting. Batting is cheaper than roving, so it's great to use it when you can. If it is too chunky, you can always try to felt it a bit and then pull it apart and I will have more of a long-like sheet which works well for these ghosts.


Step 1: Make a ball.


Place a section of the wool on your mat and start to roll it up, rolling the sides into the center of the ball and then needle felt into place.


Hint: if you'd like to involve your children, this would be a great part for them to do, but instead of needle felting this ball, you would have them wet felt it. There are many tutorials available online that can show you how! This one is quick and to the point and explains how to do it around an existing ball or with just wool (what I recommend for waldorf).

Step 2: Cover the ball with a tuft of wool.


Place it inside of the tuft of wool and hold your fingers around it and give it a few good pokes with the needle so that the outside layer felts to the ball inside. You don't have to overdo it - this ghost looks best airy so less is better - plus the eyes will keep it in place : )


Don't be afraid to really play with the wool and arrange it so that it looks right. Needlefelting and wool is very forgiving so if you make a mistake, you can usually fix it without having to start over!


Once I have the basic shape, I like to give a few punches with my clover needle - you can just use a single needle - this one is just faster as there are five needles in the punch.


Step 3: Put on the eyes (optional).


Waldorf is known for its simplicity, so by all means - if you don't want any facial features on your ghost, skip this part. Just make sure that the ball is securetly needle felted inside the outer layer. If you end up attaching string (covered below) that will hold your ghost together, too!

You only need a tiny bit of black wool. Separate two equal parts and simply roll the wool in your fingers to form a tiny ball.


Then place the ball in the position you'd like the first eye to be.


And needle felt it into place. Be sure you don't push the needle down too hard or it will go through the ghost and you might pull some of the black to the other side so it actually shows on the back of the ghost. The barbs are at the top of the needle, so you never have to go all the way down for it to grab the fibers and felt.


And voila! You're done! Wasn't that easy!


Now, if you'd like to hang them, it's pretty self explanatory, but just in case, here's what I do. Mine will go outside on a tree, so I've decided to use black thread which will be hidden when it's dark outside, giving the ghosts a floaty feel. Double thread it.


Go in from the inside/bottom of the ghost (where you made your initial ball).


Come up through the top and go back down again.


When you come out the bottom, thread the needle through the initial stitch, so that it's actually knotted onto your original stitch. This will help it from sliding off if it gets pulled in the wind or if a child grabs at it.

Then head back up through the bottom to the top once more.


It should look like this.


And then cut the loop and knot it at the appropriate height, cutting off the excess thread.


Now he's ready to fly!


There's no limit to where you can hang them! Whether it's somewhere inside the house, on a tree, or even (one of my fav's) wind it/tie it onto a long stick that your child treasures and they can fly their own ghostie around!


They will twist and turn and spin at even the slightest change of air pressure!


These would make great party favors for anyone having a Halloween birthday party or a class party!


Can't wait to see them when it gets dark out! Until then - happy early Halloween!


Hope you enjoyed!