Showing posts with label Handwork. Show all posts

Monday, March 26, 2012

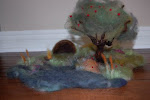
Giveaway: A Needle-Felted Playscape!

The votes are in! The playscapes win :)

I love playscapes and they have helped me immensely with my Waldorf inspired homeschool. I can't tell you how many times we have used one of the playscapes in the context of a story for teaching or how many times I have heard little voices playing and peek in to find great adventures happening on the playscape with their little wooden toys.

This playscape features a meadow with a raised mound (where a simple little turtle sits), a stream that deposits into a lake, a cave lined with gold and diamonds where a simple red gnome fulfills his life's work, and a magic tale-telling tree that will come with both deep green 'leaves', and 'autumn foilage so that the playscape can be changed for the seasons, as well (simply remove the 'leaves' for a winter scape). Additional treasures abound in the details (like the purple heather and some little 'apples' that can be placed on the tree during the harvest)!


To be entered to win this beautiful playscape, please leave me a comment with the ages of your child(ren) and their favorite book (or books) and I will post those in a subsequent post.

For an additional entry into the contest, become a follower of my blog (if you are already, LMK that and I'll add your name a second time).

For a third entry, please list your favorite blog (and the category it falls under - general, homeschooling, waldorf, crafting, etc) and I'll post those as a group in a subsequent post!

Good luck to everyone!

The winner will be announced next week on Monday, April 2nd!

Thursday, July 15, 2010

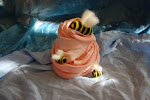
Summer Bees Needle Felting Tutorial

Bees

Buzzing bees, buzzing bees,

Buzzing and bumbling from flower to flower,

Suckling sweet nectar out of the bloom,

To fill with gold your honeycomb bower.

~Paul King


This tutorial goes out to Honey from Mondorfment for her wonderful Sunshine Award nomination :D I haven't done a simple craft tutorial in far too long, so here's a fun and easy one for summer!

Supplies:
- needle felting needle
- needle felting pad or a sponge
- three colors of wool roving (black, yellow, white/cream)
- optional: string or yarn, sewing needle, scissors, twig

Step 1: Take the black roving and roll it tightly with your fingers, securing it with the needle felting needle by jabbing it in several times. The barbs on the needle with help the wool grab onto the other fibers, thereby binding it into your desired shape.


Step 2: Once you have the size/shape of your bee, take a little thin bit of the yellow wool roving and wind it onto the bee in stripes. Needle felt into place. The needle does not need to go *all the way through*, as the barbs are on the very tip. That will also push some of the wool through to the other side and can discolor your project a bit.


Another fun and easy needle felting tool which I highly recommend is the Clover needle felting tool. It has five needles and a safety guard, which makes it a nice tool for younger needle felters. It comes with fine pointed needles, but you can also purchase thicker needles, as well. Shop around for better prices - often found in your local crafting shop!

Step 3: Take your white or cream colored wool and round the edges with your needles, making it into the shape of little wings.


Step 4: Needle felt the wings on.


Voila!


If you have younger children, you can make the bees bigger to make them safer and easier to handle.

***Remember that the wool can be a choking hazard, so please don't give these to little ones under 3 or even those who still put things into their mouths***

Here is a larger bee I made for a 3+ little one from my shop.


Now for a fun *optional* project using your lovely needle felted bees...


Have your child find some nice sticks or twigs on a nature walk. You can sand and polish for fun, if you'd like. These ones are in their natural state...

Thread a sewing needle with some thread or yarn and attach to the bees.

Tip: I like to come in through the top of the bee, hidden by the wings, and then pull it through to the bottom, and come back up again through the wings to make it extra secure. If you just come up through the bottom, your knot might not be tight enough to hold and your bee will literally go flying off the string (probably to the delight of your child - lol)!


These are wonderful as puppets, for plays, free play, nature/seasonal tables, and gifts. The simple shape is a wonderful place to start for beginning needle felters :D

This would also be amazing to add to Grade 3 curriculum when studying the bees!


Hope you enjoy!

Wednesday, July 14, 2010

Discounted Subscription to Living Crafts Magazine Through Green Mountain Organics!


This is so awesome! For those of you who always wanted to get a subscription to the amazing "Living Crafts" magazine, but are on a tight budget (like moi!) - here is a wonderful deal being offered by the amazing Michelle of Green Mountain Organics.

From now until July 30th, you can get a one year subscription for just $15.00 (versus the normal price of $21.95 in the US). Click here for the one year subscription.

Or you can purchase a two year subscription for $22.00 (versus $35.95 USD). The link for purchase at this awesome price can be found here.

***You can also renew your current subscription at those prices!!!***


Now for those who might be interested, Michelle also runs an amazing yahoo group out of Vermont called, GreenTaraMama. She is a wealth of knowledge, always on the prowl for holistic, healthy, green, fair trade, waldorf inspired, natural living products and advice to help those of us who prioritize that lifestyle! Not only is there a wealth of knowledge through the mommas in her yahoo group, but she offers fabulous deals on many products (waldorf included). She just wrapped up a 20% discount on Mercurius products through Art Makes Sense - perfect timing for grabbing the rest of our Grade 2 supplies. I have bought several of our Ostheimer figures through her special sales and every bit counts! She has Kinderkram, Evi Dolls, Servv products, Blue Canoe, etc, etc...

One of the many amazing things about Michelle is that even though her group is large (almost 500 members), she makes each and every person feel like a friend next door! Being a part of her group, in support of a natural lifestyle, has been such a blessing! So thank you, Michelle! :D

And if you're interested in joining, I hope to see you over there soon!!!

For now, I'm jumping up and down with excitement over FINALLY getting the Living Crafts Magazine - woo hoo!

Saturday, July 10, 2010

Some Summer Fun - Part I


This summer has brought us a slower pace as we go with the flow of life. I haven't had much time to blog (another post about that), but I'm going to try to share bits of our summer fun thus far in a series of "Summer Fun" posts. Hope you are enjoying your summer (or winter in the Southern Hemisphere)...Some Summer Fun for us has been -

Growing Sunflowers...


Sleeping in...


Slip and Sliding Down the Hill...


Homemade Popcorn...


Snuggles...


Lounging and Eating...


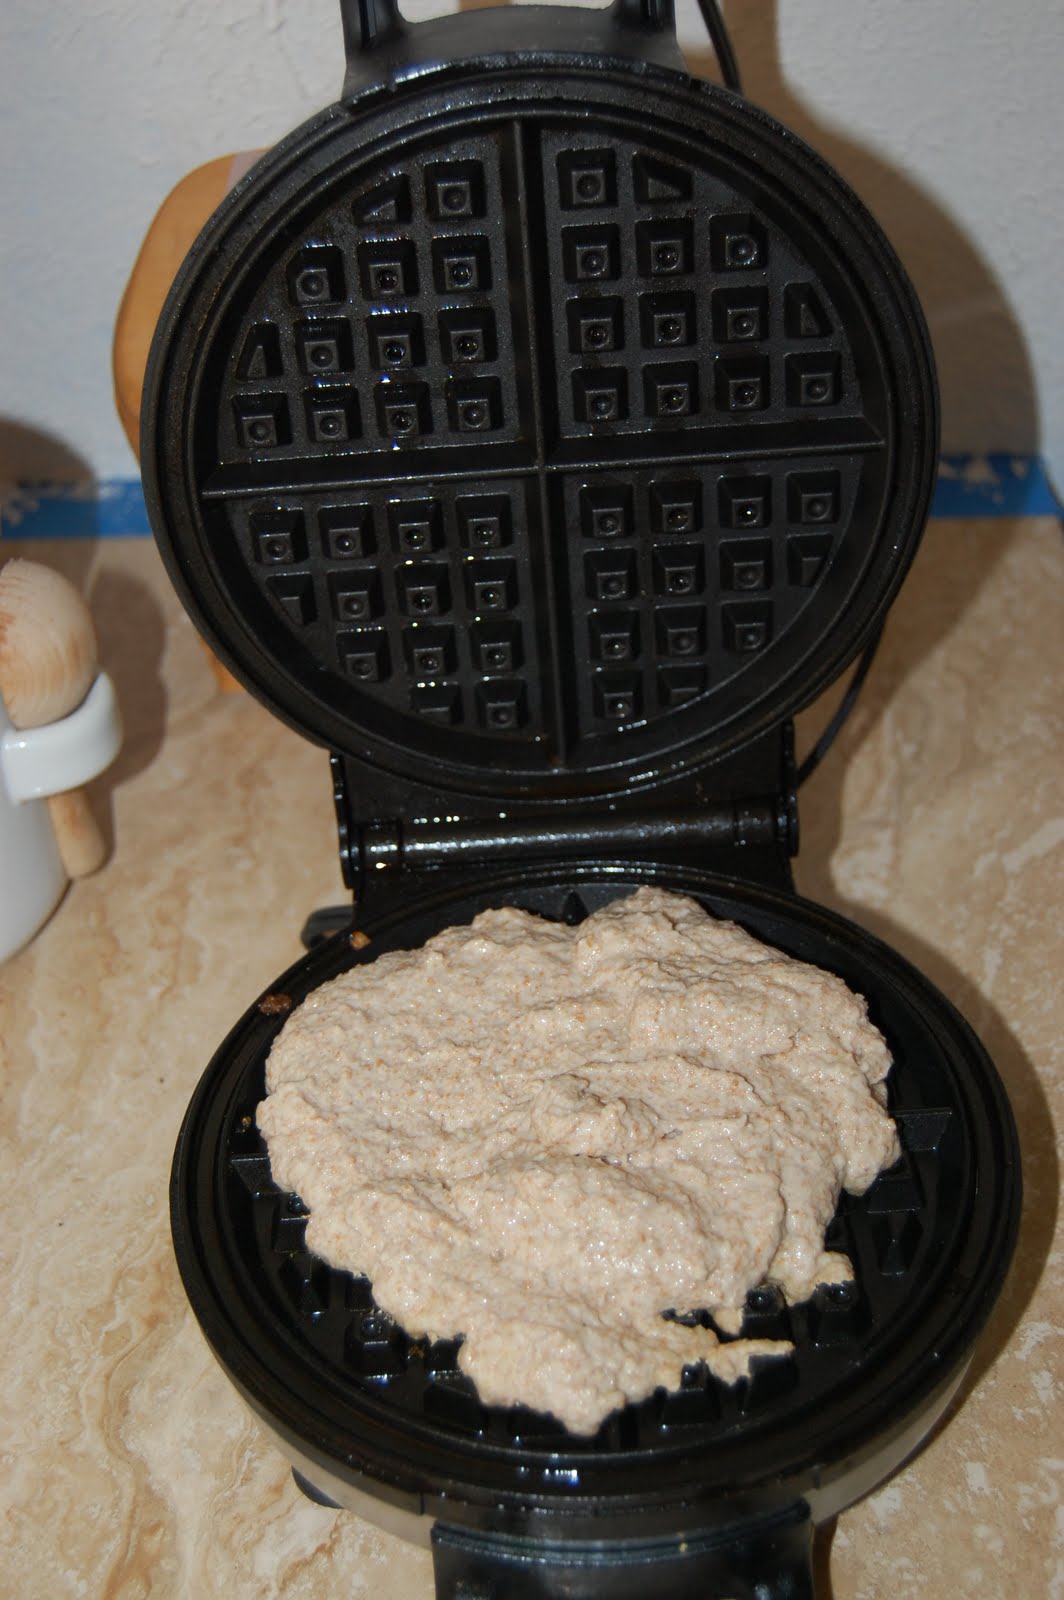
Vegan Waffles with Hand Picked Organic Fruit...


Needle-felting with a Friend...


Mermaids...


Sleeping in (again)...


Lemonade Stands with Friends...


Part II coming soon...

Sunday, June 6, 2010

Handwork: Learning the Lucet


Last weekend, Elena and I had some one-on-one time, a rarity in our household, and she wanted to learn to use the lucet she received in her Christmas stocking (yeegads - where did the time go?!?). I purchased a lucet for each of the girls from the Tan family of Syrendell. Jennifer has an amazing fiber arts shop called Gosh Yarn It where you can find the lucets, and so much more!

The lucet was used as early as the Viking days, to make cords to lace corsets, embellish clothing, tie bags, etc...They are very sturdy and gorgeous.


I searched online and found a tutorial that I watched before presenting it to Elena. It is relatively easy and addicting (though it does take a lot of finger strength - mine got sore after some time) :D. So Elena eagerly began. We tried several types and thicknesses of yarns to get a feel for it. I had to hold the top string while Elena got going, but it won't be long until she can do it all by herself!


The rainbow cord was our favorite and she was inspired to make a bunny with it (while I was angling for a snail - lol!). I tried to show her how to hide the threads and then just let her go at it and have fun...


She was so happy with her little bunny!


Thanks, Jennifer, for the beautiful lucets!!!!