Showing posts with label AncientHearth Etsy Site. Show all posts

Thursday, January 26, 2012

Ancient Hearth Etsy Shop is Reopening!!!


Bonnie, my friend, you guessed it! After a l-o-n-g hiatus, I decided that I missed my little shop so I'm busy at work, like an elf, creating some special little people to bring warmth and spirit to some wonderful homes in 2012!

And, of course, we have to celebrate by having our first giveaway of 2012. That giveaway is on the horizon, so be sure to check back next week!!!!

I've also just created a facebook page for Ancient Hearth. So feel free to join us there, too!

Saturday, January 1, 2011

Ancient Hearth GIVEAWAY to Bring in the New Year: King Winter!


King Winter now is in the land,
He reigns with cold and freezing hand.
He makes Jack Frost touch nose and toe,
And brings us white and shining snow.
~ from Wynstone Press' "Winter" book


In celebration of the new year, I wanted to offer a giveaway of the new King Winter that will be in my etsy shop later this month. My shop is still on vacation mode so we can enjoy the rest of the holidays, but I'm excited about making some new creations this year!

To enter the giveaway, just leave me a comment that you'd like to be entered to win this King Winter doll :)
The lucky winner will be announced this Friday, January 7!

May you all be blessed with a wonderful 2011 full of health, peace, and lots of love!

Happy 2011!!!!

Monday, December 13, 2010

Honoring St. Lucia...


2nd Grade has been extra fun because we are also studying the Saints. Today, we celebrate St. Lucia's special day. My nice camera has been lost and only resurfaced this afternoon, so I don't have any pictures to share of our celebration this morning. But I have two posts to share from last year.

First, our preparations for making a basic needle felted St. Lucia crown. That can be found here.

And then our celebration is found here.

Some basic information on St. Lucia from my etsy shop listing:

The legend of Santa Lucia is that of a beautiful young woman who was brutally tortured and put to death defending her faith. Abandoning her wealth and promise of a husband, she dedicated her life to serving the poor and feeding the hungry. Later, the stories surfaced of various miracles tied to this Italian maiden, including a legend in the middle ages when a large boat, empty of passengers, arrived in Sweden full of food and drink for the starving people of the town. Some swore they had seen St. Lucia with a light surrounding her head on the bow of the ship just before it landed. Some time later, she was adopted as a very important saint by Sweden and now a lovely holiday tradition takes place yearly in her honor on December 13th.

It was said that she brought bread to the poor Christians hiding out in caves and the wilderness. She strapped torches onto her head to free up her hands to carry and distribute the bounty. Hence, the tradition of the Light Wreath came to pass.


This is an "Old World" St. Lucia - the Italian maiden that probably more closely resembles the real St. Lucia (versus the lovely Swedish version that we've all come to recognize in the waldorf circles)...

No matter what color her hair and skin are, or what kind of clothing she wears, the gifts of St. Lucy, her love for the poor and the magnitude of her faith make her shine like a beacon of light in the night!

Hope you had a fun St. Lucia day!

Wednesday, October 6, 2010

All Hallow's Eve Draws Near!


I just shipped this order out to a customer and had to share this picture! I love to add little gifts to my orders and added Gus the Ghost! He was so easy to make that I'm hoping to whip out a quick tutorial so many little Gus the Ghosts can be made in many houses this Halloween! How fun it would be to make several, thread with string and hang from a Halloween tree inside or outside your house!

Monday, October 4, 2010

October Seasonal Table


Wind in wood, blow, blow
all the leaves are rustling.
Sing a song of autumn leaves
as the trees bend high and low.
Wind in wood, blow, blow
all the leaves are rustling.


Michael, angel bright,
Flaming sword is guiding,
Sing a song of twinkling stars
As they sparkle in the night.
Michael, angel bright
Flaming sword is guiding.

Friday, September 3, 2010

Back to School Giveaway!!!!!


Well, it's back to school time and fall is just about here in the Northern Hemisphere...so I thought I'd celebrate by hosting another giveaway. This time, the prize is this lovely golden sunflower maiden!


She has been lovingly needle felted in the waldorf tradition using 100% wool roving and batting, coupled with soy silk hair. She's out gathering autumn flowers and turning her face to the sun, like a good sunflower maiden would do!


She would LOVE to come to your house to grace your seasonal table and help bring in this new school season!


If you'd like a chance to win this *original* special girl, who is not currently offered in my shop, please leave me a comment in the comment's section and if you recommend your favorite read-aloud, along with your comment, (either a favorite of your child's or perhaps your favorite one as a child), I will enter you a second time!

Thank you for entering, for taking the time to read and comment on my blog, and for the wonderful loving vibes you all send! Hugs and good luck!

The winner will be announced on Friday, September 10th...

Thursday, July 15, 2010

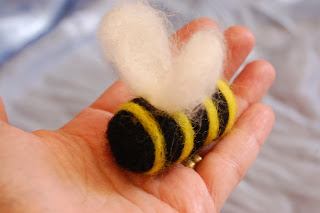
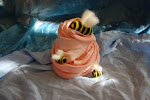
Summer Bees Needle Felting Tutorial

Bees

Buzzing bees, buzzing bees,

Buzzing and bumbling from flower to flower,

Suckling sweet nectar out of the bloom,

To fill with gold your honeycomb bower.

~Paul King


This tutorial goes out to Honey from Mondorfment for her wonderful Sunshine Award nomination :D I haven't done a simple craft tutorial in far too long, so here's a fun and easy one for summer!

Supplies:
- needle felting needle
- needle felting pad or a sponge
- three colors of wool roving (black, yellow, white/cream)
- optional: string or yarn, sewing needle, scissors, twig

Step 1: Take the black roving and roll it tightly with your fingers, securing it with the needle felting needle by jabbing it in several times. The barbs on the needle with help the wool grab onto the other fibers, thereby binding it into your desired shape.


Step 2: Once you have the size/shape of your bee, take a little thin bit of the yellow wool roving and wind it onto the bee in stripes. Needle felt into place. The needle does not need to go *all the way through*, as the barbs are on the very tip. That will also push some of the wool through to the other side and can discolor your project a bit.


Another fun and easy needle felting tool which I highly recommend is the Clover needle felting tool. It has five needles and a safety guard, which makes it a nice tool for younger needle felters. It comes with fine pointed needles, but you can also purchase thicker needles, as well. Shop around for better prices - often found in your local crafting shop!

Step 3: Take your white or cream colored wool and round the edges with your needles, making it into the shape of little wings.


Step 4: Needle felt the wings on.


Voila!


If you have younger children, you can make the bees bigger to make them safer and easier to handle.

***Remember that the wool can be a choking hazard, so please don't give these to little ones under 3 or even those who still put things into their mouths***

Here is a larger bee I made for a 3+ little one from my shop.


Now for a fun *optional* project using your lovely needle felted bees...


Have your child find some nice sticks or twigs on a nature walk. You can sand and polish for fun, if you'd like. These ones are in their natural state...

Thread a sewing needle with some thread or yarn and attach to the bees.

Tip: I like to come in through the top of the bee, hidden by the wings, and then pull it through to the bottom, and come back up again through the wings to make it extra secure. If you just come up through the bottom, your knot might not be tight enough to hold and your bee will literally go flying off the string (probably to the delight of your child - lol)!


These are wonderful as puppets, for plays, free play, nature/seasonal tables, and gifts. The simple shape is a wonderful place to start for beginning needle felters :D

This would also be amazing to add to Grade 3 curriculum when studying the bees!


Hope you enjoy!

Sunday, May 2, 2010

Maths Block II: Gnome Minus Takeaway (Subtract)


This past week, we continued with our four week Maths Block on the Four Processes and Quantities of Numbers. Here is a summary of some of what we did this week.

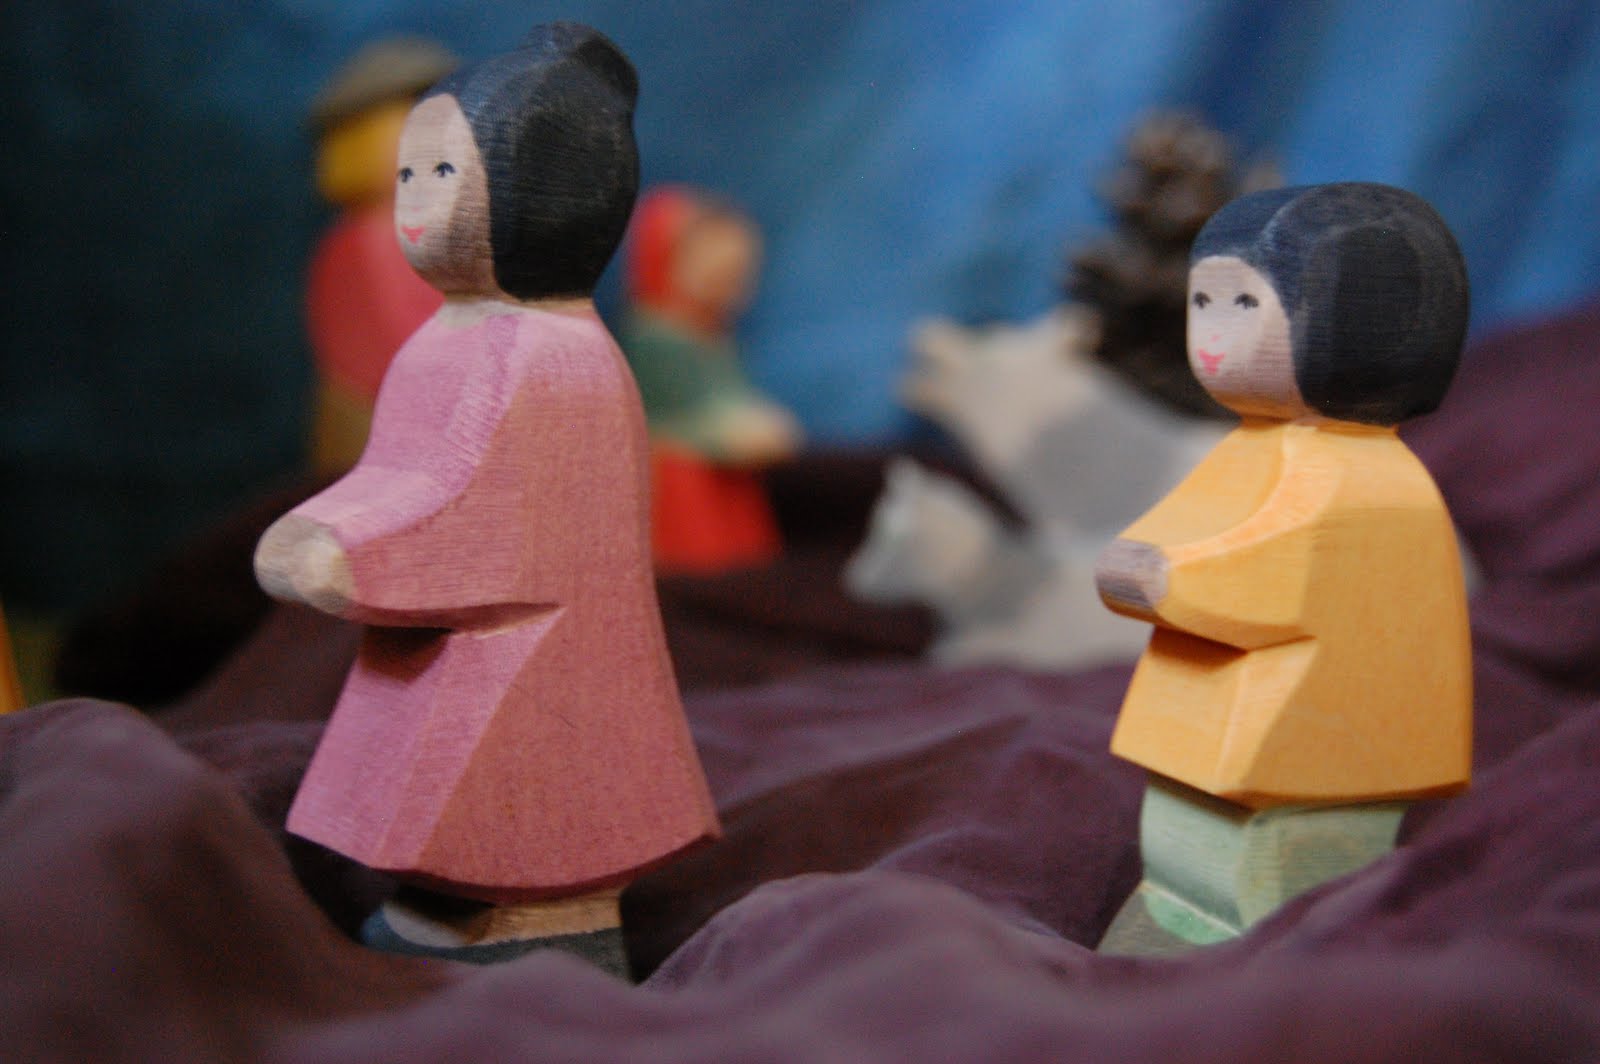
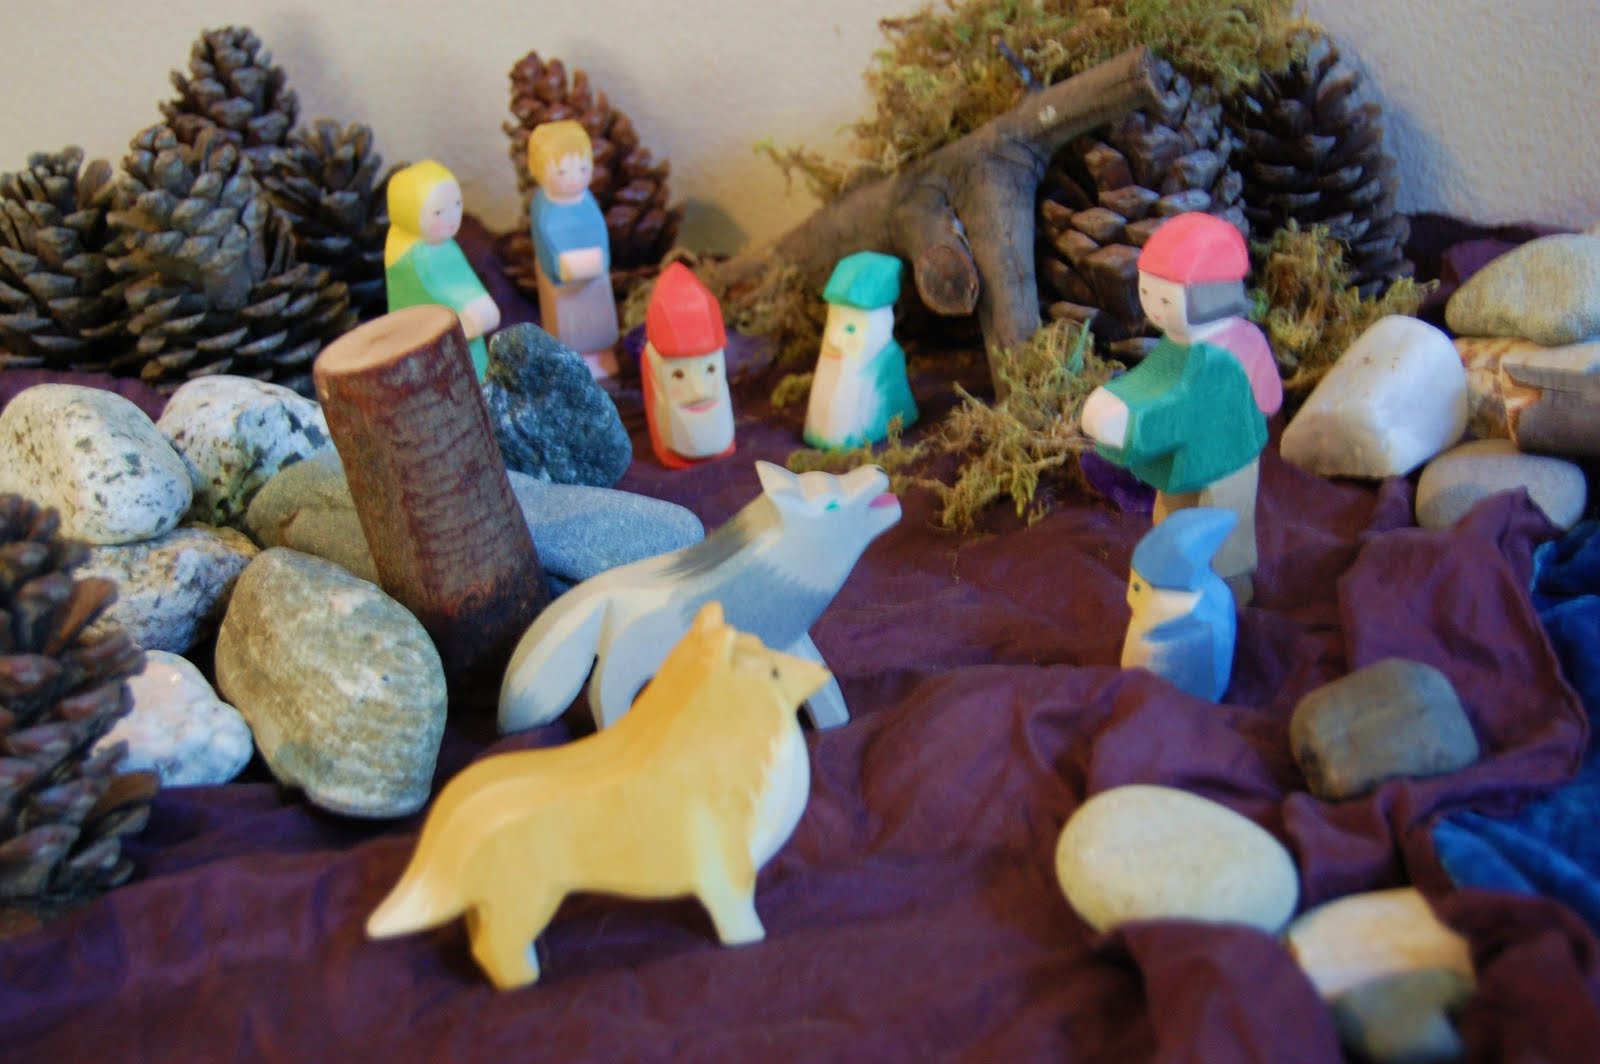
We began with an introduction to three new characters in our story. The first two arrived together when the children heard an old, quiet grumbling coming their way. They could barely make out the words, sounding like an apology.

"I'm sorry...I'm sorry. I didn't mean to lose them..."


And then a second voice was heard, that of a young boy.

"Don't worry. We'll find them. We've just got to!"

Gnome Share turned to the children and said,

"Why that sounds like Gnome Minus Takeaway! He's always losing things. It sounds like he needs our help."

They approached the two new characters and introduced themselves. We learned that the Shepherd Boy had been watching his grandfather's flock of sheep in the meadow when he ran into the sweet and loving Gnome Minus Takeaway. Gnome M.T. loves animals and was smitten by the sheep and asked to play with them. He had forgotten that he was supposed to be collecting gems for the Gnome King and got swept away in the excitement of looking after the sheep. The Shepherd Boy happily agreed to let Gnome M.T. play with them while he ate his lunch and before long, the silly Gnome M.T. lost track of the entire flock. And the two were looking in earnest.

Luckily the Ancient Wolf, the guide and protector, knew just whom to call upon. He gave a great, thunderous howl and moments later, help arrived!

"This is Kaimi, the Seeker. He will track down your flock,"
said the Ancient Wolf.


And this is how the girls were introduced to the subtraction gnome. I wanted to find a way to weave animals into our tale since the girls just love them :D

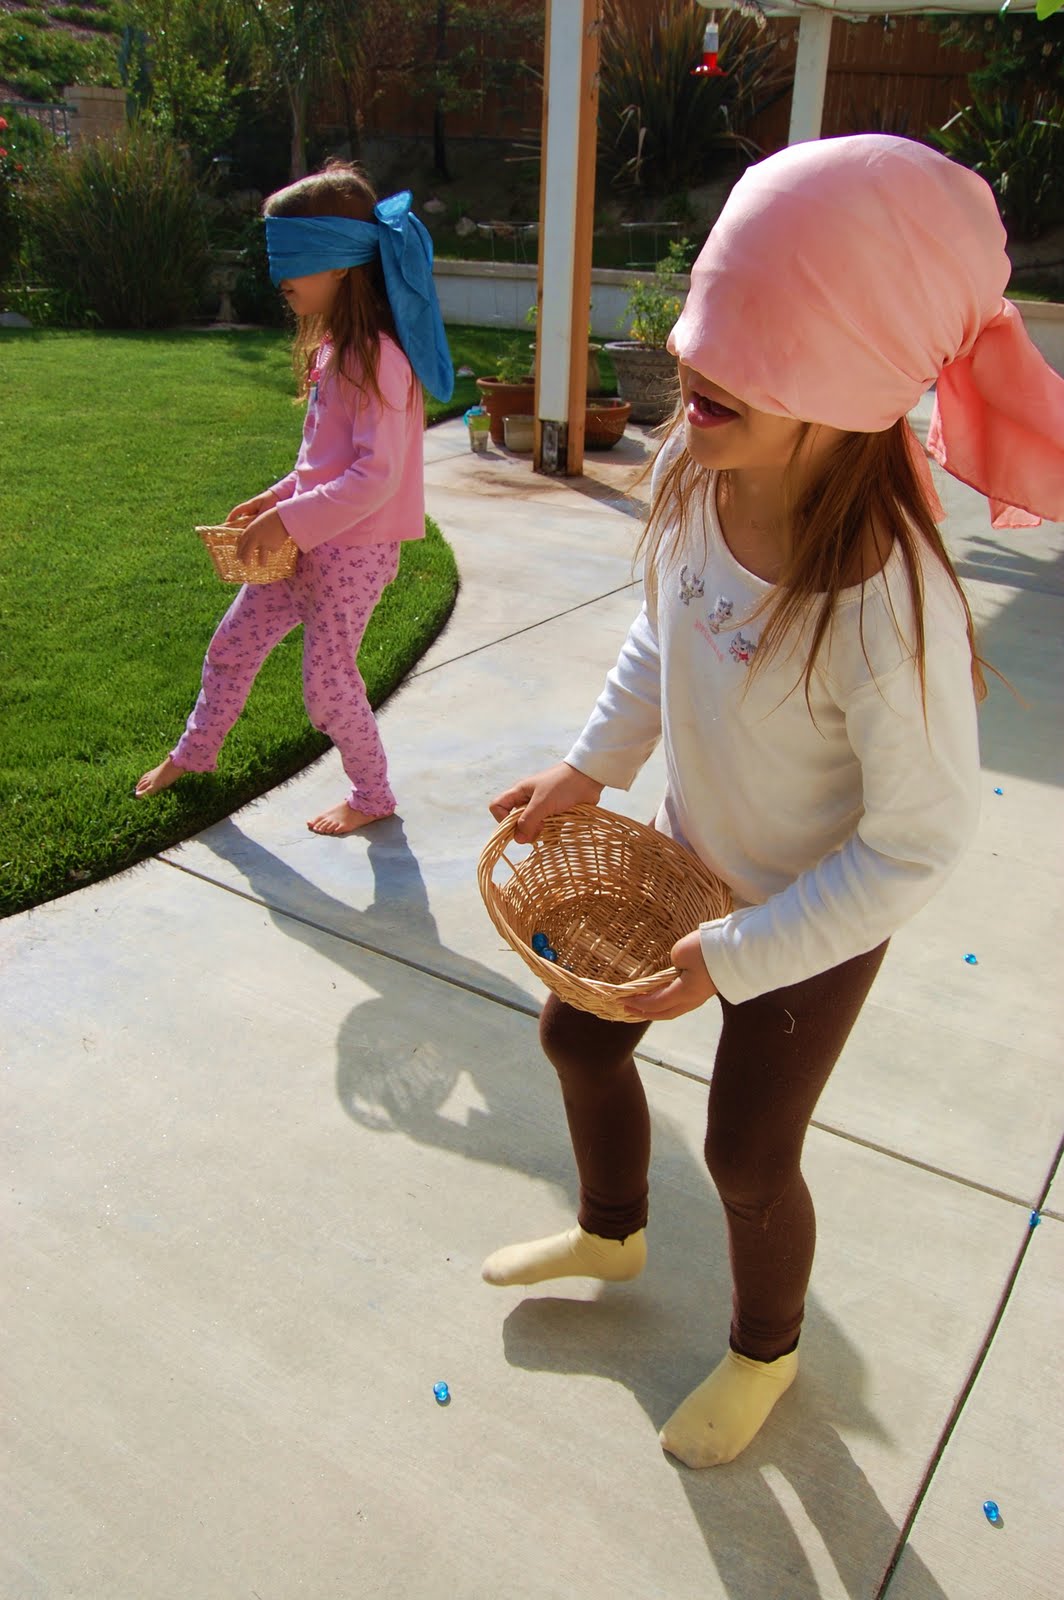
I got out their baskets and gave them each seven blue gems.


We headed outside with our gems and some silk scarves to blindfold the girls. I think I got this idea from Marsha Johnson, but the girls pretended to be Gnome Minus Takeaway and dropped some of the gems until I said, "Stop!" and then they felt in the basket how many were left and how many they each had to find to make 7 again. They then had to find the missing gems on the ground, using their feet :D and pick them up again.


After this, we brought the story back and rotated with a game of hide and seek. One person would hide all 14 gems and the two seekers (like Kaimi) would find 7 gems for each basket.


This game we played over and over and over again. They loved it!


Here's Elena, waiting for Charley to finish hiding the gems. While we were waiting, we discovered lots of snails crawling through our yard and on our fence.


The girls were introduced to the sign of Minus Takeaway Gnome and we wrote it with sidewalk chalk and had fun again with the sandscapes.


We ate some blueberries to celebrate Gnome Minus Takeaway's color. We looked for blue everywhere.


We did lots of work in our Main Lesson Book. I had found a lovely blog post about the Four Processes from Littlest Birds blog and liked how she altered Dorothy Harrer's original math gnomes poem for Gnome Minus from the word "careless" to "silly" because as we all, young children included big time, lose things from time to time and I didn't want to focus on negative labels. Be sure to check out the gorgeous presentation she did for the Quality of Numbers introduction - very inspiring! It can be seen here.

Here is some of our MLB work from the past week.


Charley's work above...with some problems with stories taken from Ron Jarman's "Teaching Mathematics in Rudolf Steiner Schools". I made up stories about each problem and the girls embellished with drawings of the animals. They also need more practice writing numbers as we write them backwards every so often.


My MLB's - with the first one finally finished from our previous week's lesson.


Elena's work.

Something else we got out this week was a game I mentioned to another Momma recently that we enjoy. It's call Sum Swamp and this game would be very easy to make on your own with your child. We swap out the plastic characters with some Ostheimers and use the wooden dice I made with my wood burning tool so they could continue practicing their Roman and Arabic numerals (the dice are available at my shop for those who don't have time to make their own). We also have the glass gems available for them to use, but I can see they are starting to need to use them less and less already.


Sum Swamp also helps identify odd and even numbers, higher and lower numbers (as you are to always place the highest die rolled first, with the process next, then the 2nd number die to find your total).


Finally, the number stories we read this week are:

Seven: "The Seven Ravens" by Bros. Grimm
Eight: "How Stories Came to Earth" ~ An Ashanti Legend about Anansi the spider.
Nine: A retelling in my own words of the "2nd labor of Hercules", when he subdues the hydra with nine heads. You can see summaries of Hercules here. Otherwise, if you haven't told "The Gnome" yet by the Bros. Grimm, it is about a 9 headed dragon. We used it in a previous block.

This coming week, we meet the final gnome and wrap up this block!


And here is Pee Wee! Getting bigger and doing well thus far!